

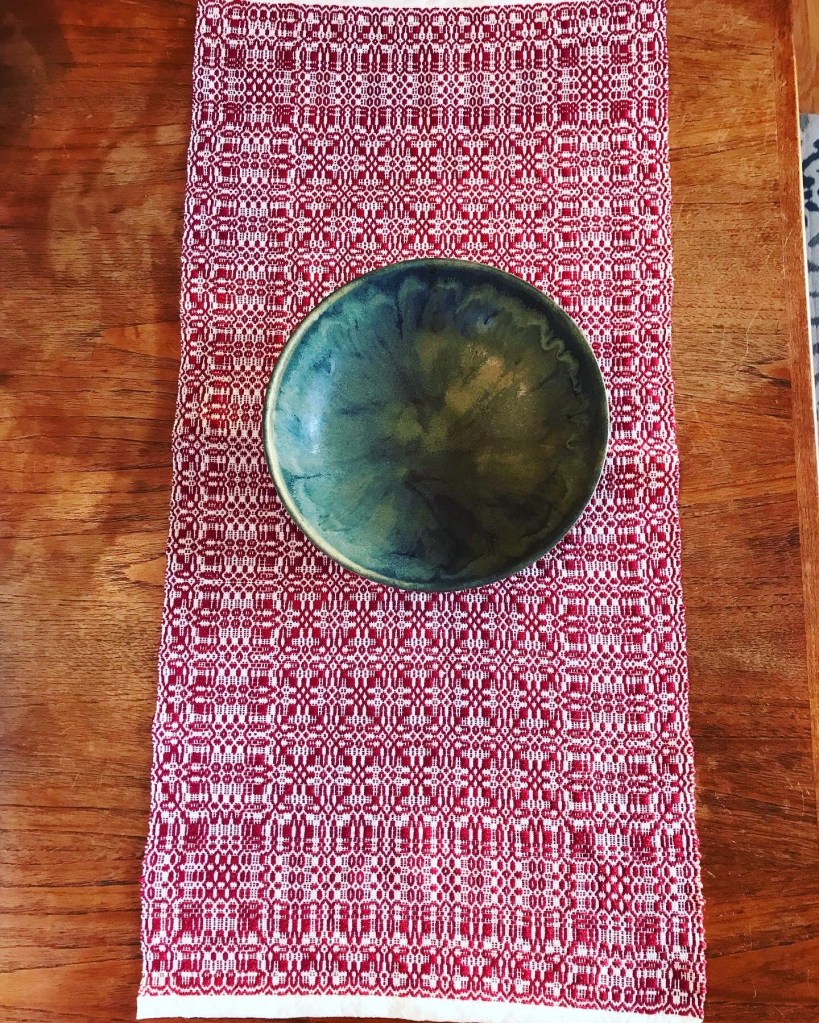
When I first saw the Celebration Overshot Runner, I fell in love.
This fall, I set out to find a project that I could make as a housewarming gift for family friends. Due to time constraints, I needed something that was a manageable size and was something that our friends could use in their new home. With a name that included “celebration,” a size and scope doable in my time frame, and a gorgeous pattern to boot, I knew that Ute Bargmann’s Celebration Overshot Runner was it.
Below, I discuss the process of making this stunning runner—it is a gorgeous project that I would highly recommend to weavers at the intermediate level (or above). I was more than pleased with the end results.
In fact, I was so happy that I kept the extra warp on the loom and tied on a new, longer warp to make two more runners in different colors! (More on that in another blog post coming soon…)
Happy weaving!
Planning and Set-Up

To complete the Celebration Overshot Runner you will need:
- The pattern, available for purchase from WEBS here
- 4 shaft loom with at least a 19-inch weaving width
- 10 dent reed (pattern sett is 20 epi)
- 2 shuttles
- One cone of 10/2 mercerized perle cotton (for warp and tabby weft). I used Valley Yarns Valley Cotton #8176 (natural). The pattern calls for white for the tabby weft, but I thought natural worked well as both warp and weft.
- One cone of 5/2 mercerized perle cotton (for pattern weft). I used Valley Yarns Valley Cotton #3200 (currant)
- Sewing machine to secure the ends of the runner before hemming.
- Tools for hemming by hand (needle, thread, pins or clips)
First, I wound a 2-yard warp of 368 threads of the 10/2 cotton (this includes two floating selvedges). I then sleyed the reed (two ends per dent), threaded the heddles, tied the warp onto the back beam, beamed the warp, and then tied it onto the front beam.
Note: The treadling for this pattern was written with a rising shed loom in mind. If you have a sinking shed loom, like me, you’ll need to take some time to write out the pattern as its opposite. So, for instance, [3-4, 1-2, 1-4, 2-3] would be converted to [1-2, 3-4, 2-3, 1-4].
The Weaving

- I first wove a header using scrap yarn for an inch or two before beginning the pattern to spread the yarn.
- After that, I followed the pattern as directed and beat firmly to achieve square motifs as best I could.
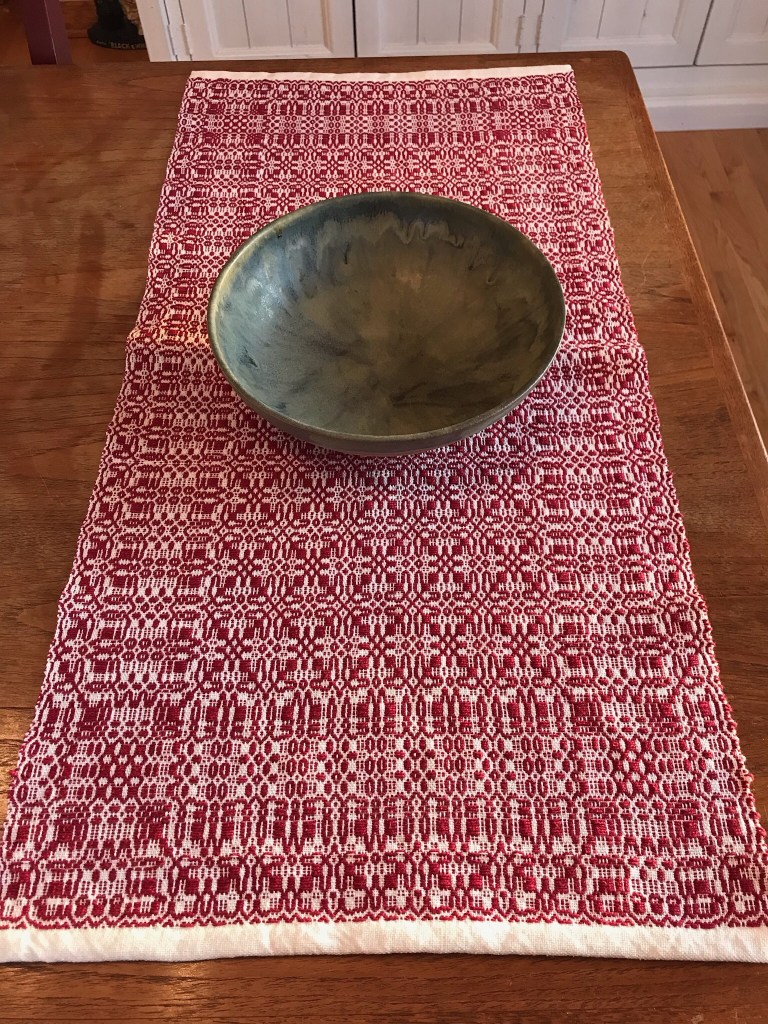
- Though it looks quite intricate, weaving this pattern is quite simple—it essentially breaks down into three sections: a border at each end of the runner and a center medallion motif that gets repeated however many times you wish.
- Indeed, this is one of the nice features of this pattern–you can customize how long you want the runner to be by adjusting how many times you repeat the center motif. The original pattern calls for 7 rows but I wanted a longer runner, so I wove 10. But you could also create more of a square mat if you did fewer—say, 5. Likewise, you could make the runner wider by adding extra columns of the center motif. (The pattern calls for 5 and I stuck with that.)
- The other feature of this pattern that I appreciated was that it wove up quickly. The beginning border took me about an hour, since I was still getting my sea legs under me with this particular pattern. Each row of center medallions, however, only took me about half an hour. As someone who doesn’t get much time at the loom, this meant that I could finish the piece within a week even if I was just able to have short weaving sessions. It was very convenient and it produced stunning results. By the time I got to the end border, I was hitting my weaving stride and finished that last section in probably 30-40 min.
- To keep track of how many rows I had of the center motif, I used clothespins—one per row—at first. Once the fabric started to wind over the front beam, however, I switched to pins which aren’t bulky.

- I was careful with my edges and I did not experience much draw-in. I did not use a temple.
Finishing
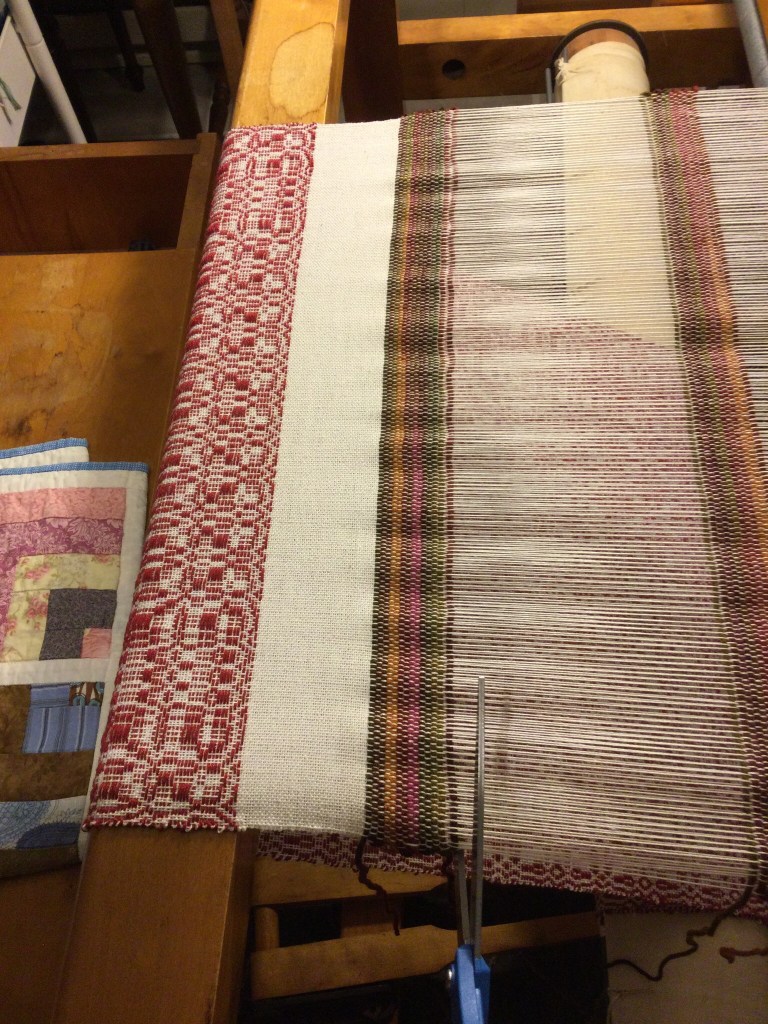
- After I got to the end of the pattern and wove a few inches of plain weave for the hem, I then wove a couple of rows with a scrap yarn as a header to lock the runner in place once I took it off the loom (see above picture). I call this a “securing header” and I’ve found that it provides a tighter, more secure hem.
- Next, I cut the runner off the loom and secured its ends by zig-zag stitching in a matching thread on my sewing machine.

- I then trimmed any loose ends to about an inch and cut off the scrap yarn headers.
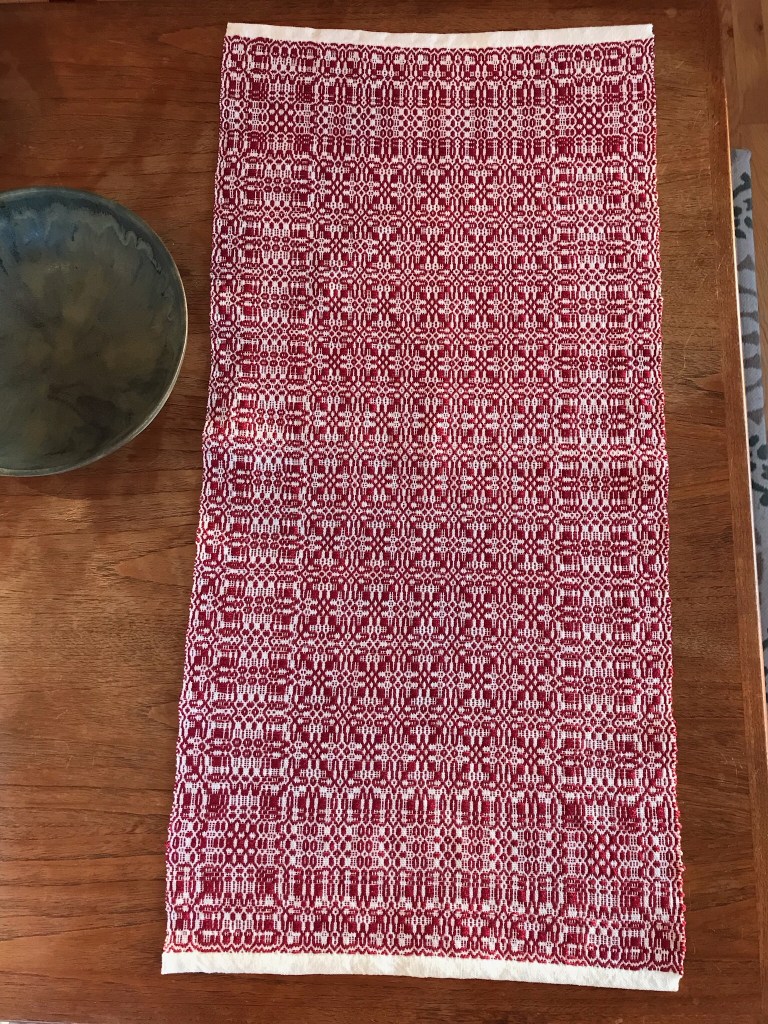
- The finished size of the runner off the loom (before hemming) was 16 ¾ inches wide by 38 ¼ inches long
- Next, I hand washed the runner in warm, soapy water. I rinsed and gently squeezed any excess water out. I gently draped the runner on a drying rack to let it dry flat overnight.

- When the piece had completely dried, I trimmed any remaining loose threads close to the cloth.
- Finally, I created the rolled hem by turning under the ends twice and pinning them in place. I then hand stitched the hems closed.
- I did not feel the need to iron the runner, though you could.
- See below for a gallery of pictures of the finished piece.


Leave a comment