
As a Christmas present for my sister-in-law, a baker extraordinaire, I decided to try Handwoven magazine’s free, 8-shaft linen bread bag pattern. Since I only have four shafts, I used this version, which worked beautifully. (There is also Angela Tong‘s gorgeous rigid heddle version available here.)
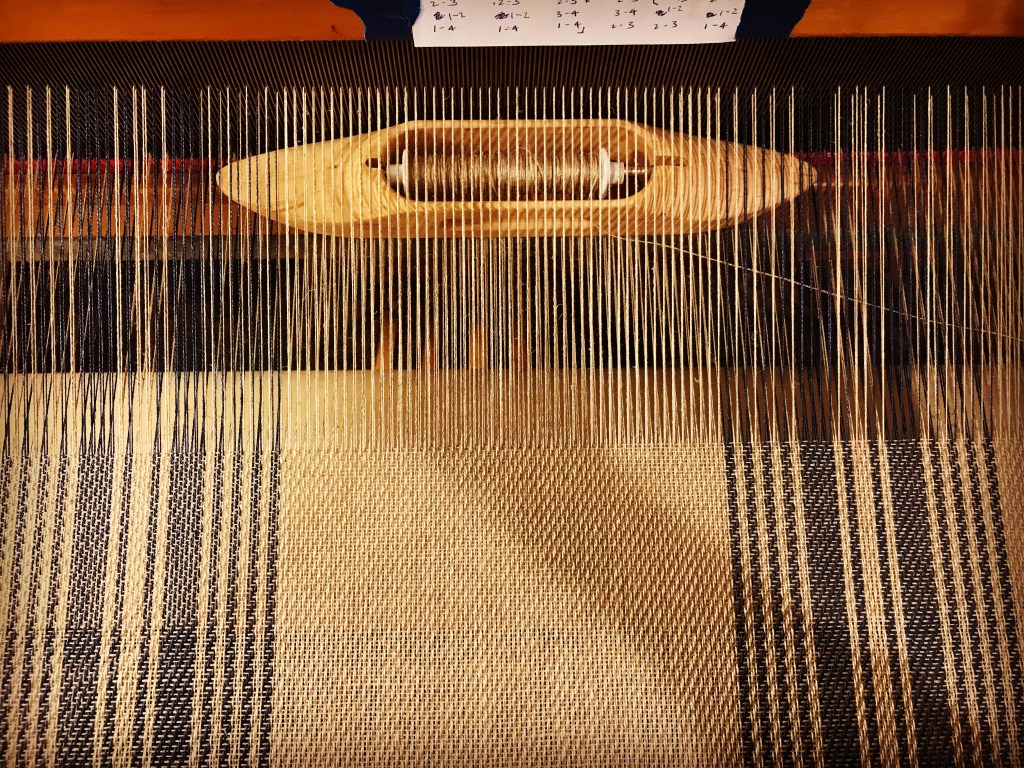
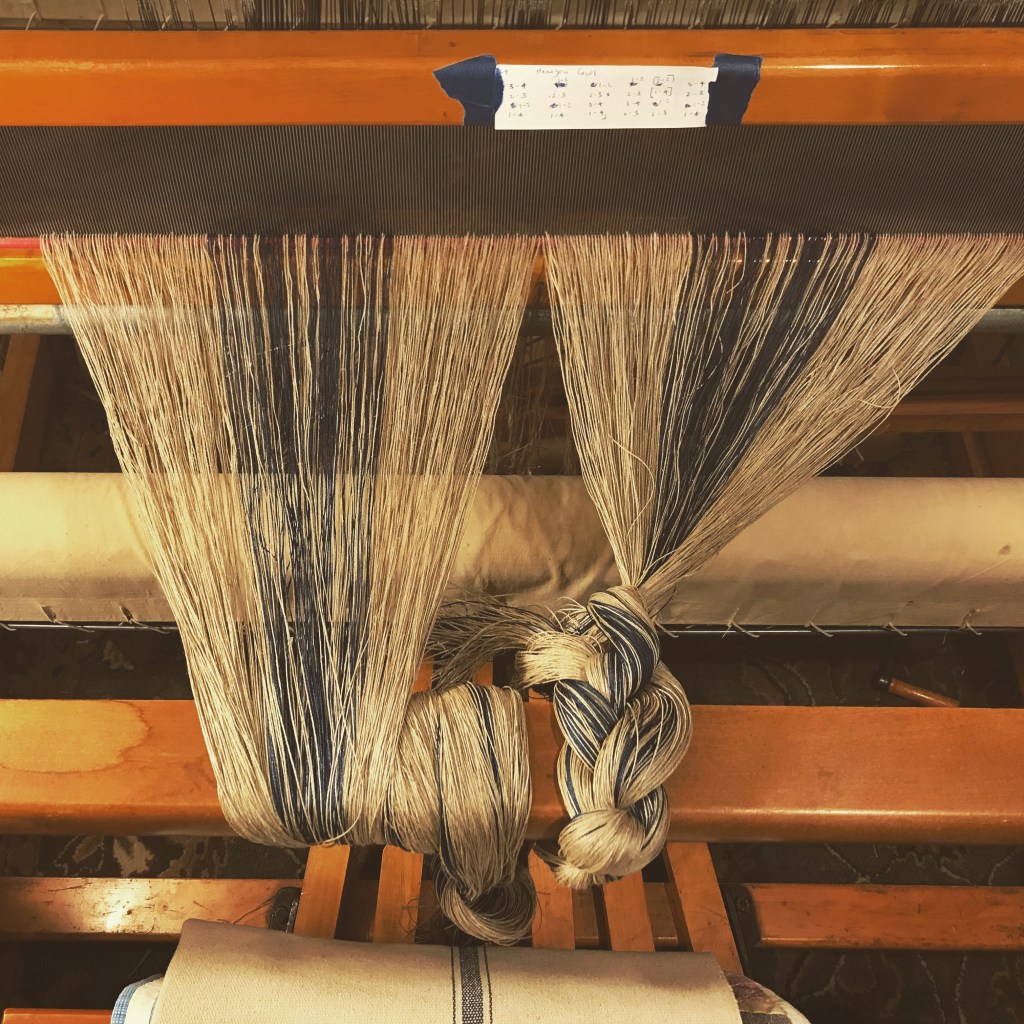
I chose Bockens 16/2 linen (colors 0000 and 603) for the warp and wound 650 warp ends measuring 2 yards in length. (The online pattern isn’t entirely clear on the total number of warp ends, but 650 will do it, which includes two floating selvedges). I sleyed a 12 dent reed with two warp ends per dent for a total EPI of 24. The pattern calls for a 2-2 twill, so I threaded the heddles in a straight draw. After tying on, beaming the warp, and then tying onto the breast beam, I was ready to weave.
The ingenious part of this pattern is that you weave the bread bag as though it were an open book. The front and back of the bag appear left to right on the loom (if that makes sense). At the end, you fold the fabric over and sew up one side and the bottom of the bag (after creating a casing at the top). This means that you weave the bag’s stripe design and its mirror image at the same time. The original 8-shaft version uses doubleweave to create a tube for the bag, but this option works just as well.
The bag weaves up quickly–I was able to weave the entire warp in one evening–and the pattern is generous, making enough for two bags. Bonus: since you will be sewing your two selvedges together to create the bag, you don’t need to worry too much about your edges.
Cut the fabric off the loom and zigzag stitch the two ends to secure them. The pattern then recommends that you wash the cloth before constructing the bag. I hand washed mine in warm water with a mild soap and let it dry flat over night. Don’t forget to weave in your ends! (You won’t have many.) I did not need to iron the fabric–it did not wrinkle.
I was left with fabric the next morning that was quite light and bouncy–a bit unstable in the sense that it seemed to jump all over the place and was difficult to work with. This is partly because I used 16/2 linen (Bockens, color 0000) for the weft as well, which is smaller than the 8/1 tow linen the pattern recommends. Had I used the larger linen, this probably would have made the fabric a bit more supple and sturdy. I also wonder if the fabric would have been easier to work with had I constructed the bag before washing the fabric. This is a bit risky to do since you can’t entirely predict how the fabric will shrink or tighten up, but it might be worth a shot next time. (Also, maybe ironing would have helped with this??)
To construct the bag, I first cut my yardage in half by marking the center, machine sewing 1/4 inch on either side of this center line, and then cutting down the center line. Now I had two pieces of fabric to make the two bags.
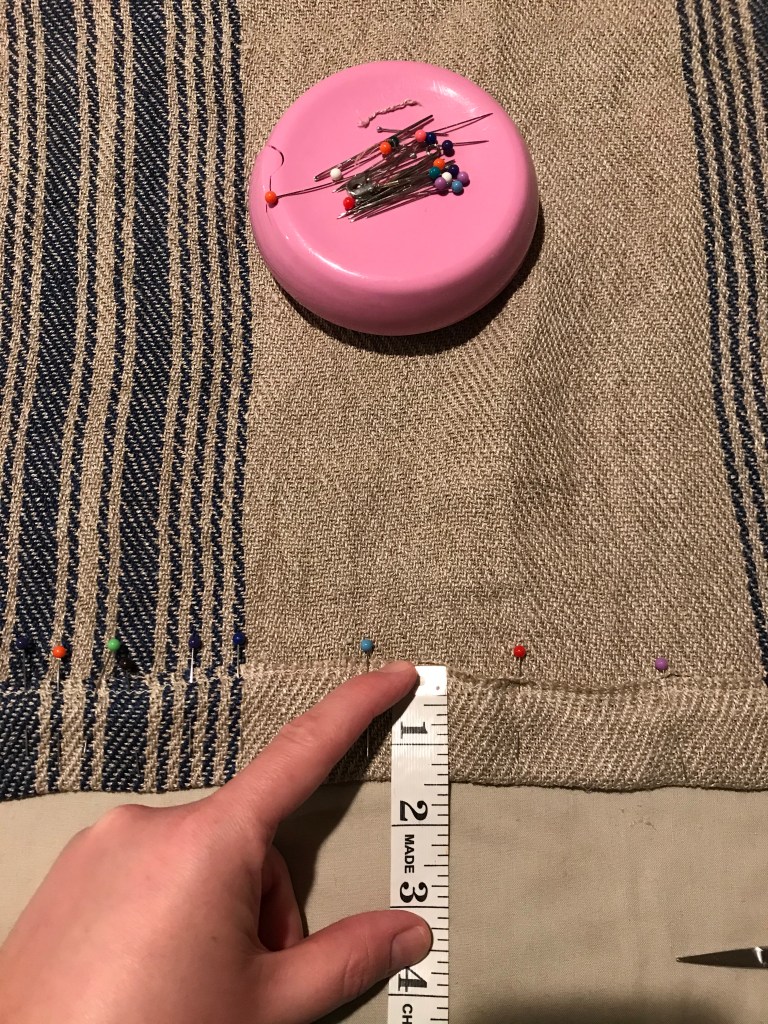
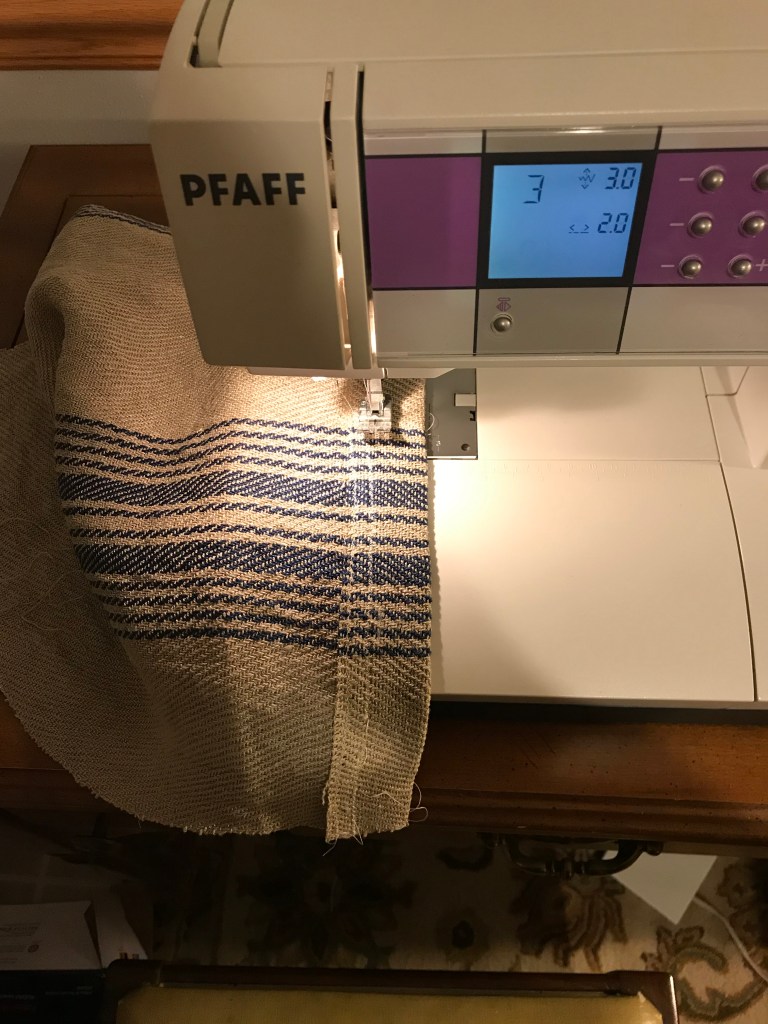
Before sewing up the sides of the bag, however, I first needed to make the casing. I turned the top of one of the bags over about 1.5″ down the wrong side of the fabric. I pinned everything in place, making sure the stripes matched up. Then I zigzag sewed about 1/4 inch from the edge. (Had I had an easier time manipulating the fabric, I would have zigzagged over the edge itself for a cleaner look. Next time I might do a rolled hem instead.)
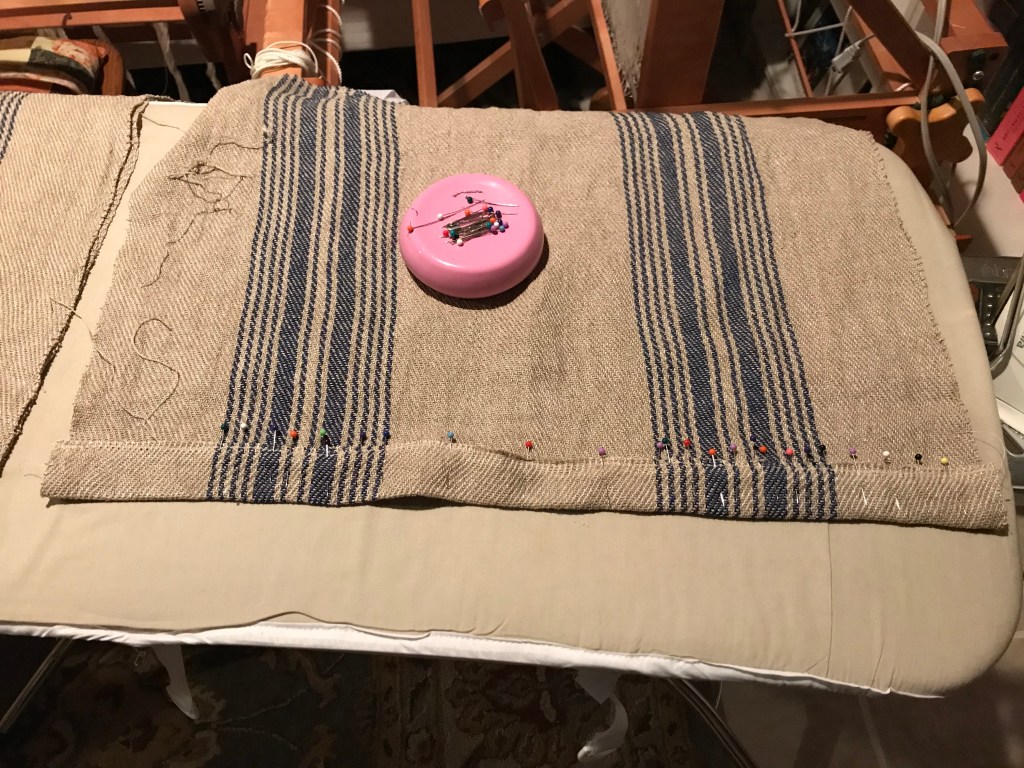
Next I lined up the stripes at the bottom of the bag, right sides together. After pinning everything in place, I sewed the bottom of the bag together with a 1/2″ hem.
After that, I lined up the selvedges as best I could (they were pretty wonky) and sewed a 1/2″ hem along the side. I didn’t sew all the way up to the top of the bag because that would have sewed up the openings for the casing. So, I stopped when I got to the casing.
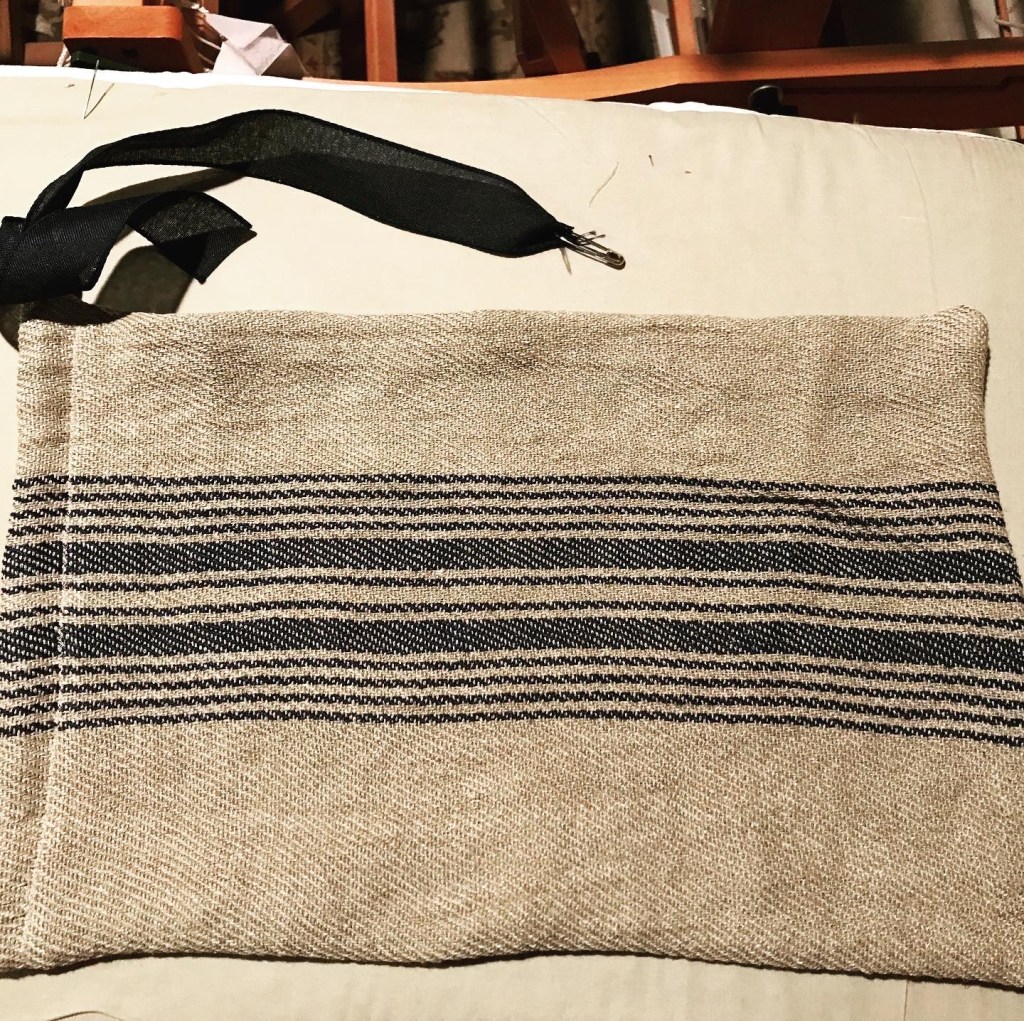
Finally, I turned the bag right side out and threaded a blue ribbon through the casing, using a safety pin. Voila! (The pattern calls for weaving your own ribbon, but I am lazy so I bought one from Joann’s and removed its wire.)
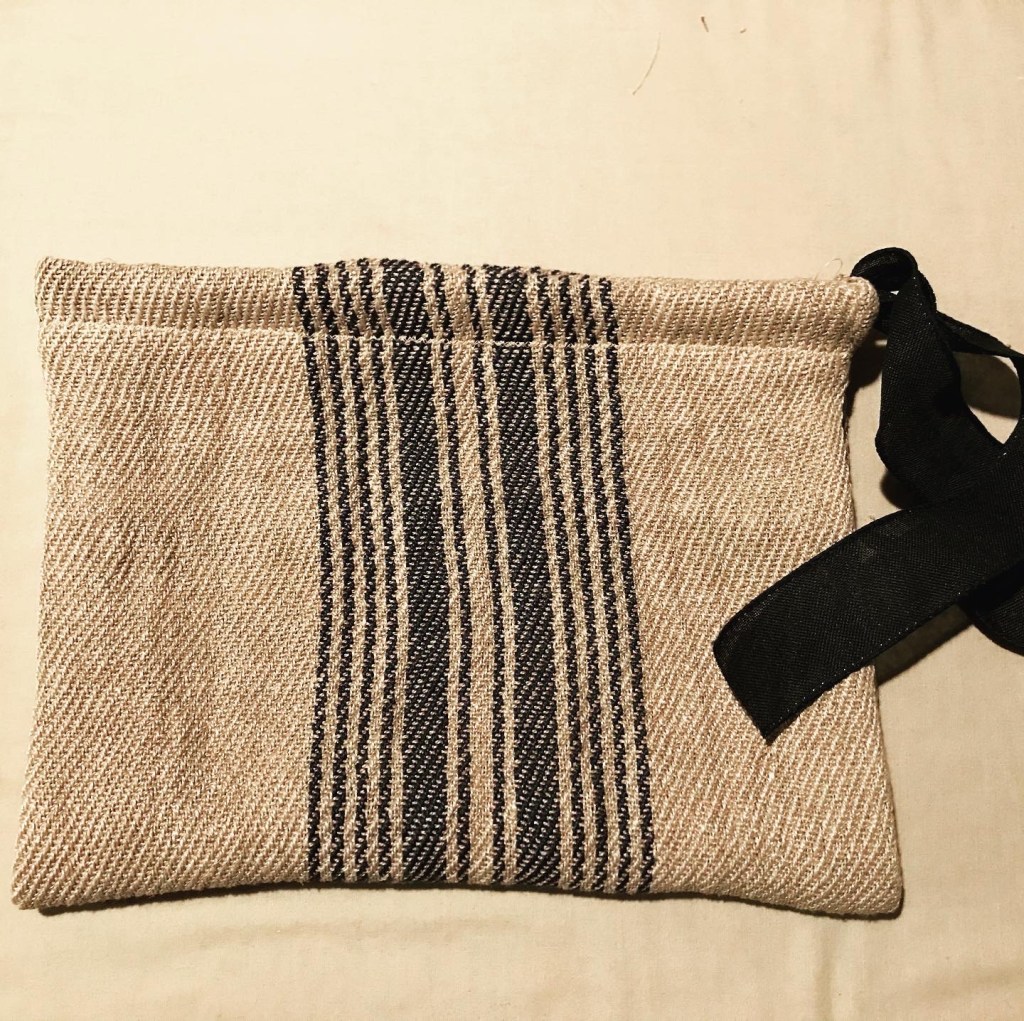
All in all I was very happy with this pattern and project. Next time I make this bag, and I certainly will, I would make it a bit wider. It ended up being somewhere between 11 and 11.5 inches wide, which is essentially what the pattern called for, but I think it’s too small for a nice big sourdough boule. I would also play with the casing construction–I am not sure how sturdy or attractive the casing is where the ribbon comes out. It’s a bit clunky looking. Still, this was a terrific project and I am grateful to Handwoven for making it free and accessible!
Happy weaving (and baking)!

Leave a comment